Trophy mount on medallions photo class
Moderators: skeetshot, deerhunter338mag
-
Aholz
- Posts: 211
- Joined: Mon Jun 15, 2009 10:19 pm
- Location: Glenview illinois
- Location: Glenview, Illinois
Trophy mount on medallions photo class
Guys, I have just finished the mounting of 21 or 22 trophies on shields. By request from my Russian friends, I made a photo-class of step-by-step how I did it. If anyone want to learn my technique, I can translate it into English and publish it here. Just let me know.
-
skeetshot
- Moderator
- Posts: 2853
- Joined: Mon Aug 03, 2009 6:34 am
- Location: New Delhi
- Location: New Delhi, INDIA
Re: Trophy mount on medallions photo class
Yes. You are a true craftsman and those pictures will help us all learn something 
-
retrieverman

- Meister der jagd
- Posts: 2589
- Joined: Thu Jun 11, 2009 3:34 pm
- Location: Texas

-
Aholz
- Posts: 211
- Joined: Mon Jun 15, 2009 10:19 pm
- Location: Glenview illinois
- Location: Glenview, Illinois
Re: Trophy mount on medallions photo class
Give me a few days, and I will post it. 
-
thechamp
- Administrator
- Posts: 8746
- Joined: Fri Jun 12, 2009 11:25 pm
- Location: San Antonio
- Location: San Antonio, Tx.
Re: Trophy mount on medallions photo class
Thanks, we might give it a try ourselves someday. Of course the scary part is they might look like 'we' did them! 
-
deerhunter338mag

- Global Moderator
- Posts: 10028
- Joined: Fri Jun 12, 2009 12:50 am
- Location: Australia
- Location: Melbourne Australia
Re: Trophy mount on medallions photo class
looking forward to it Aholz 
Measure it, when it’s on the deck
-
Aholz
- Posts: 211
- Joined: Mon Jun 15, 2009 10:19 pm
- Location: Glenview illinois
- Location: Glenview, Illinois
Re: Trophy mount on medallions photo class
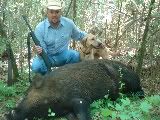
My first few trophies I decided to have as shoulder mounts. It took almost a year to receive several huge cardboard boxes. I brought them home, opened and unpacked my trophies. They looked great! I put them, on a wall and realized that they take so much space that my future trophies are in jeopardy. After the next hunt we ordered “European mounts” In a few months I got a box with three mounts. I did not know what is more appropriate to do: to cry or to laugh. Three ram’s heads without lower jaw were attached to an ugly looking bases. The skulls were painted with cheap white paint and the teeth on the upper jaw were black and looked rotten. I realized that there is no way I put this junk on my wall. So I decided to do them my way. I cut skulls, glued some wood into the brain cavity. Built a base and put everything together. Here is my first mount.
This time I had a lot of skulls: our Namibia trophies, some US trophies and friends Zimbabwe skulls. I took a lot of pictures and decided to make a photo class on mounts. I will give you a short comments, but pictures are self-explainable.
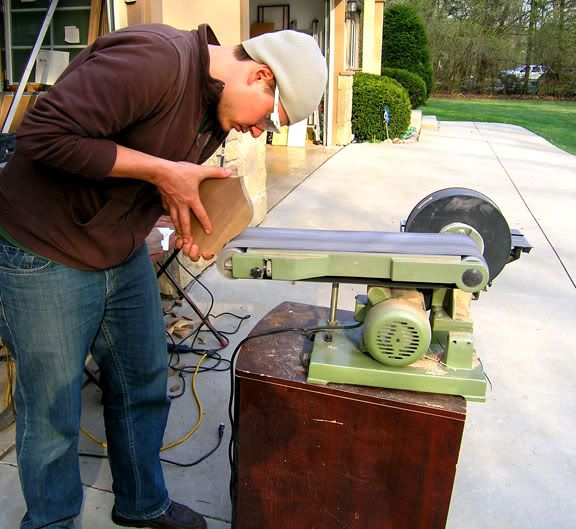
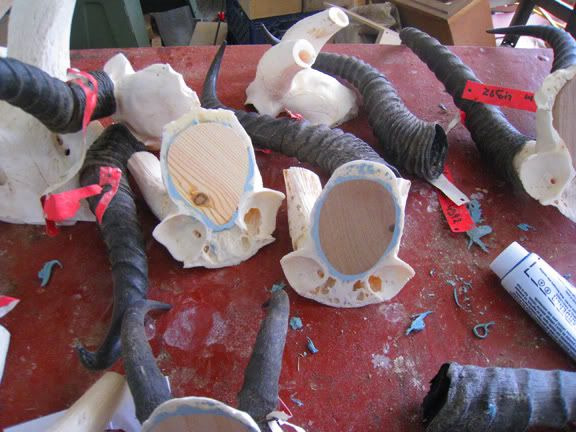
The first step - cutting the skull. To cut a skull I use a hacksaw, hand circular saw or reciprocated saw. Actually any saw works. Then I sand flat on my belt sander/ This machine is one of the most useful in my workshop.
Sanded skull lays on a flat board with no holes

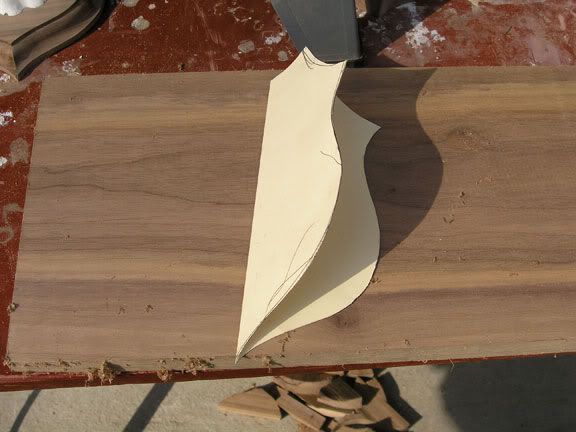
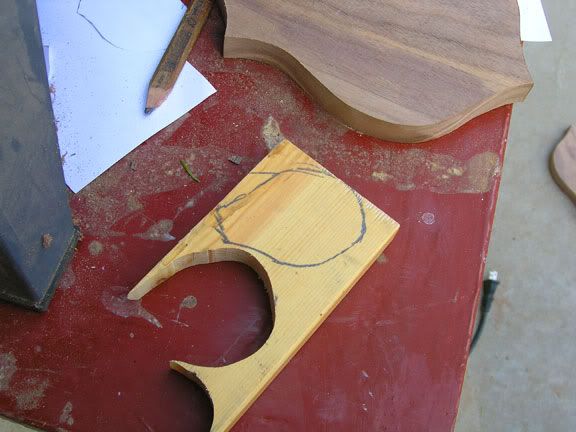
Using a thin cardboard I make templates for the medallions. I have them in different sizes.
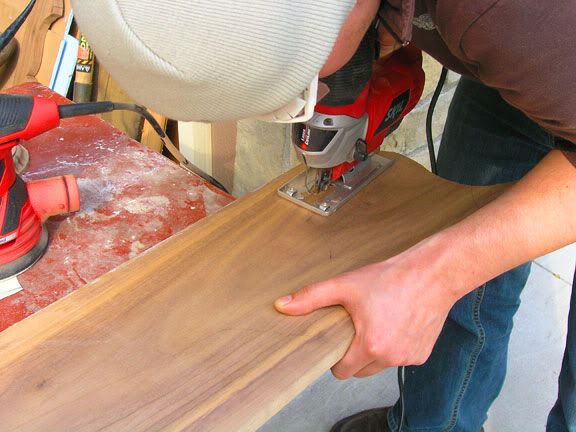
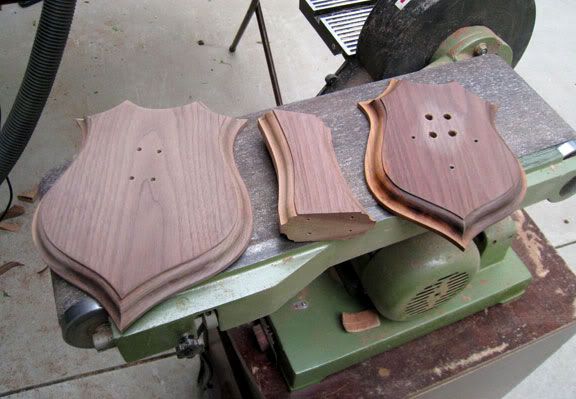
I trace template on a walnut board and cut it with a jigsaw.
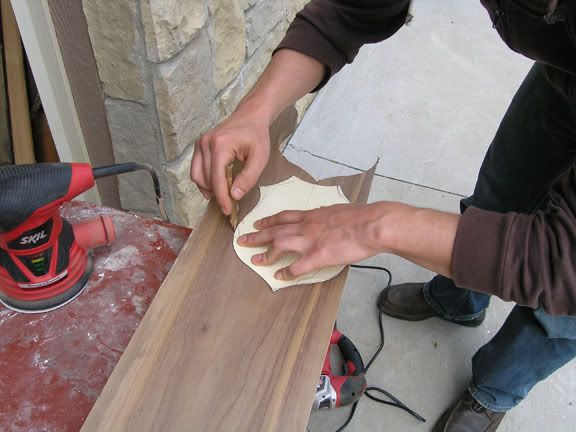
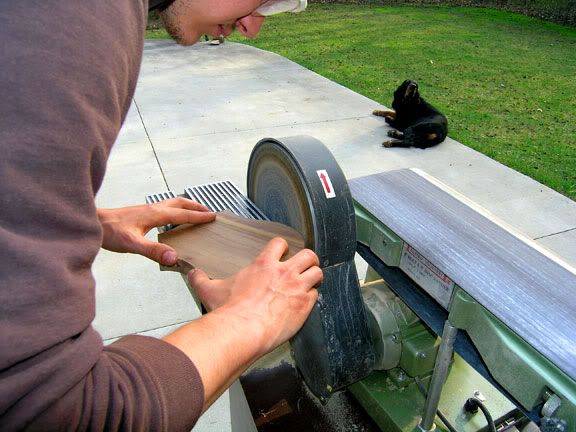
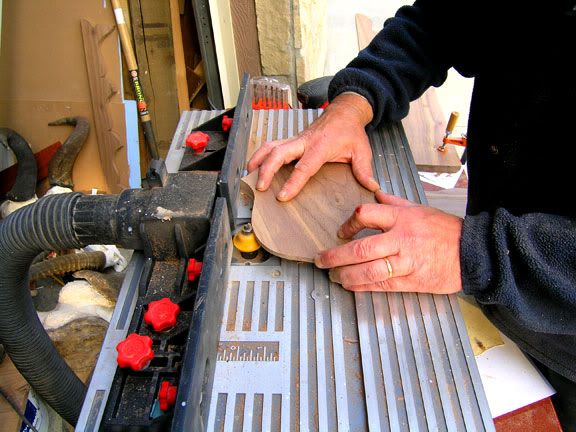
I sand the edges of my future medallion on belt sander and then I use my router to finish edges
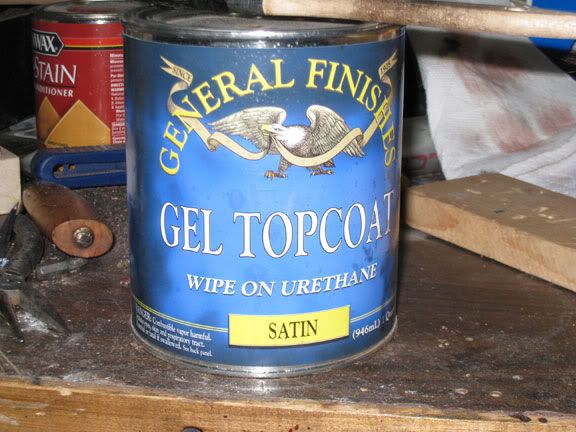
I use 120-220-320 grid sandpaper to prepare the surface for finish. I use this product:
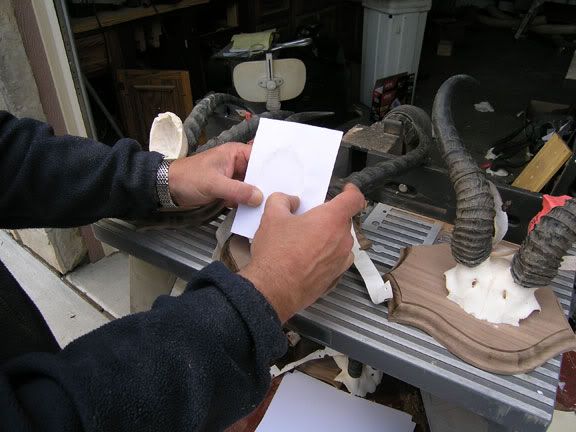
To attach the skull to the medallion we have to make a wooden insert that fits into brain cavity. At first I make a template out of paper pressing it to the bone with my thumbs, then cut it.
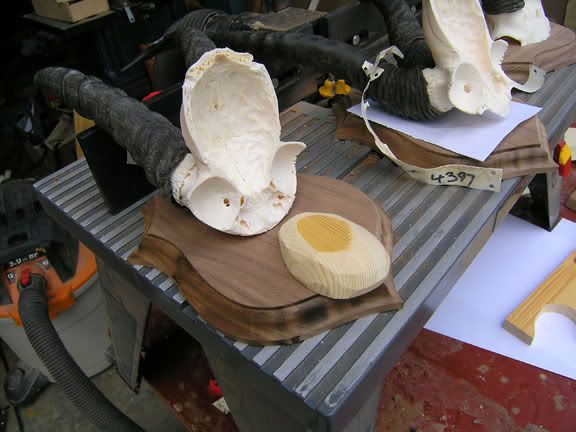
To glue the inserts in I use automotive light weight body filler It dries fast and holds strong. Another run on the belt-sander and we are ready for assembling
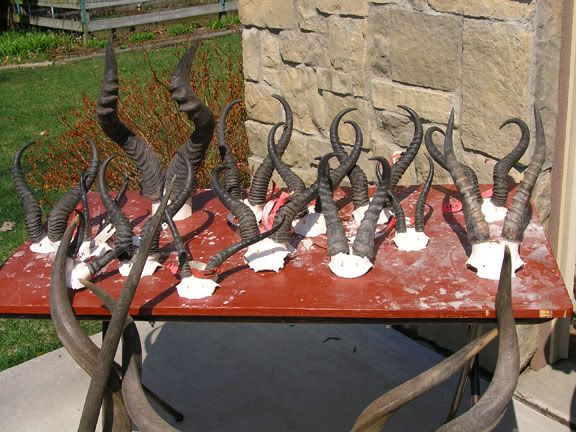
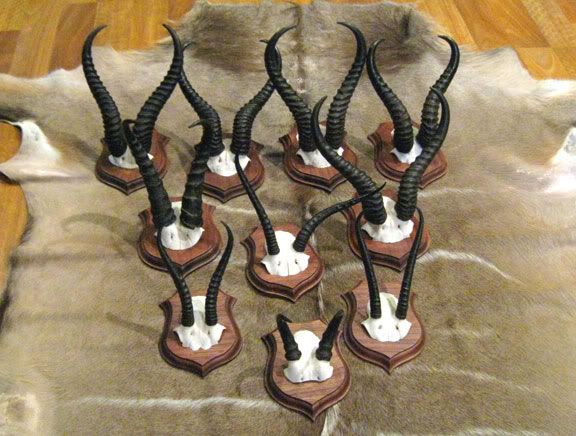
Here are finished mounts:
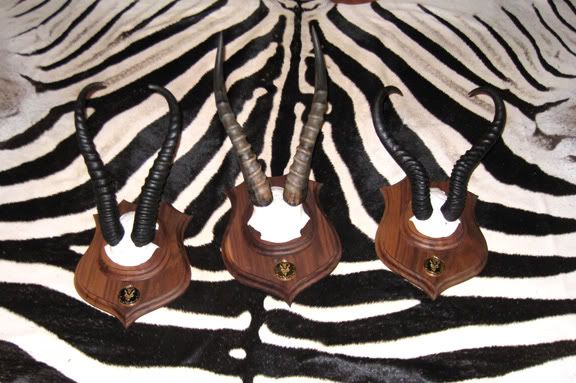
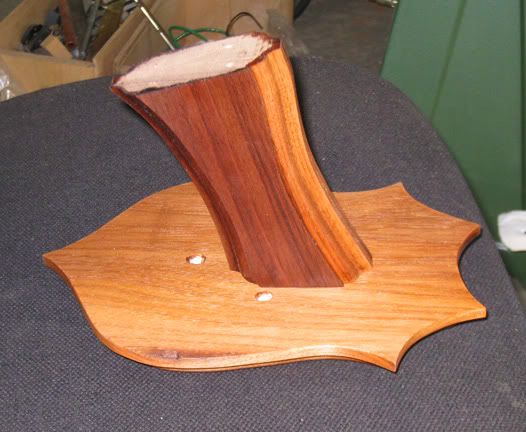
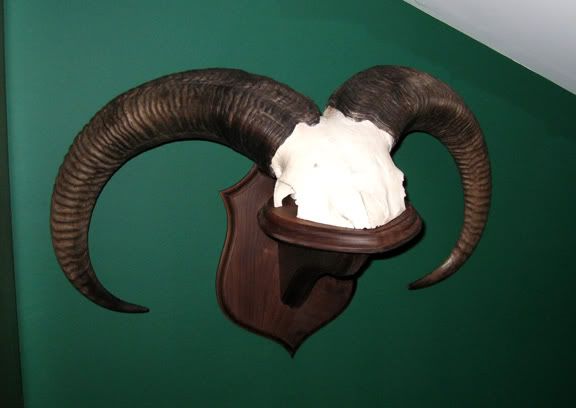
The most complicated is a ram mount. Usually it has three parts:
First I attach the small medallion to the "leg"
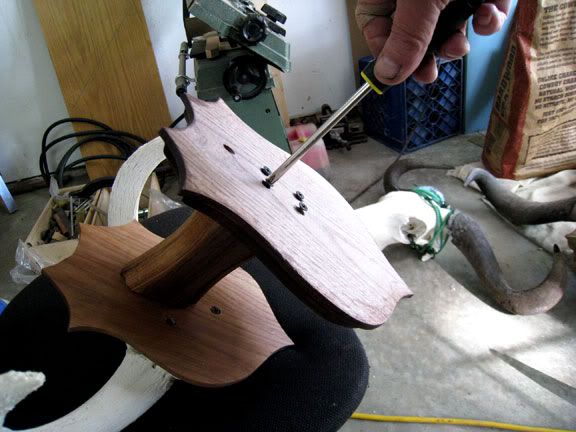
Then I attach the skull

And finally I attach the wall medallion
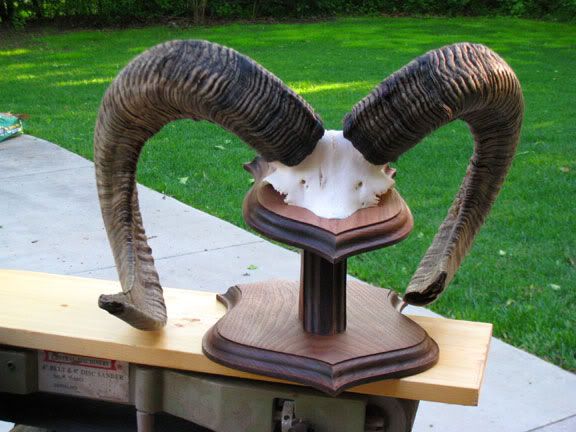
Eventually we get something like that
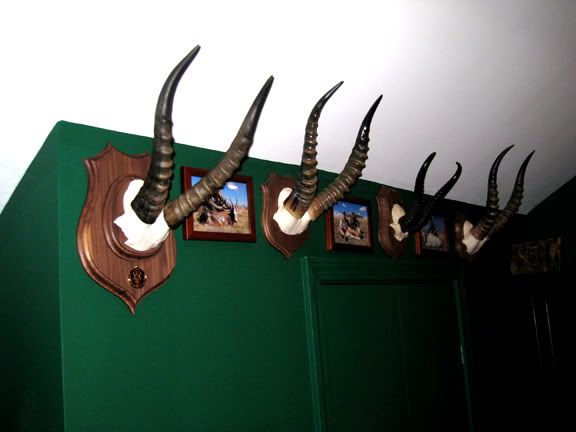
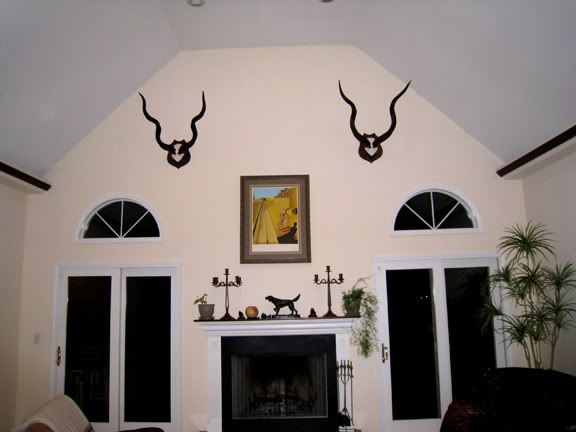
Here are finished mounts in my trophy room:


The first step - cutting the skull. To cut a skull I use a hacksaw, hand circular saw or reciprocated saw. Actually any saw works. Then I sand flat on my belt sander/ This machine is one of the most useful in my workshop.
Sanded skull lays on a flat board with no holes
Using a thin cardboard I make templates for the medallions. I have them in different sizes.
I trace template on a walnut board and cut it with a jigsaw.
I sand the edges of my future medallion on belt sander and then I use my router to finish edges
I use 120-220-320 grid sandpaper to prepare the surface for finish. I use this product:
To attach the skull to the medallion we have to make a wooden insert that fits into brain cavity. At first I make a template out of paper pressing it to the bone with my thumbs, then cut it.
To glue the inserts in I use automotive light weight body filler It dries fast and holds strong. Another run on the belt-sander and we are ready for assembling
Here are finished mounts:
The most complicated is a ram mount. Usually it has three parts:
First I attach the small medallion to the "leg"
Then I attach the skull
And finally I attach the wall medallion
Eventually we get something like that
Here are finished mounts in my trophy room:
You do not have the required permissions to view the files attached to this post.
-
skeetshot
- Moderator
- Posts: 2853
- Joined: Mon Aug 03, 2009 6:34 am
- Location: New Delhi
- Location: New Delhi, INDIA
Re: Trophy mount on medallions photo class
Very very nice
And just what we expect from a skilled craftsman.
What is that 4 horned skull of ?
And just what we expect from a skilled craftsman.
What is that 4 horned skull of ?
-
Dom

- Moderator
- Posts: 2812
- Joined: Tue Jun 16, 2009 11:07 am
- Location: Michigan
- Location: Thumb
Re: Trophy mount on medallions photo class
Very good job aholz, nice work. Interesting Hartebeest mount for sure, thanks for the pics.
-------- There are those who only reload so they can shoot, and then there are those who only shoot so they can reload. I belong to the first group. Dom --------------
-
Aholz
- Posts: 211
- Joined: Mon Jun 15, 2009 10:19 pm
- Location: Glenview illinois
- Location: Glenview, Illinois
Re: Trophy mount on medallions photo class
Thanks for your compliments, guys. The 4 horned skull is a Jacobs Ram - it was mentioned in the Bible. It was imported to USA from Iran, Iraque. A very unusual animal.